Recommended products
Member only
This test score is for members only. Join now to unlock our expert results.
Join nowAlready a member? Log in now
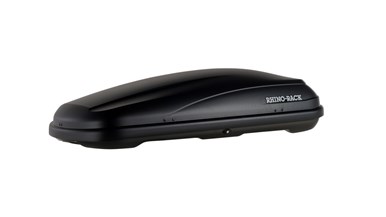
Claimed volume (L)
The manufacturer's stated volume of the box, in litres.
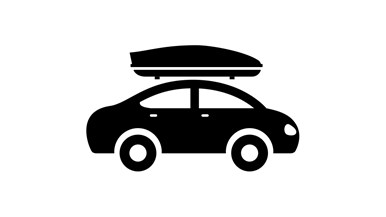
Size based on fuel use
Based on the front area of the car roof box, used to assess fuel use.
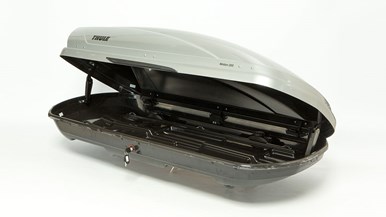
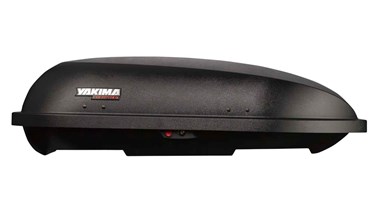
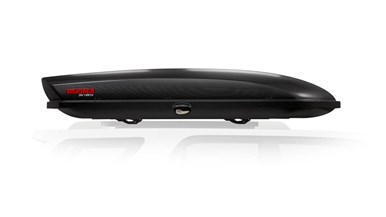
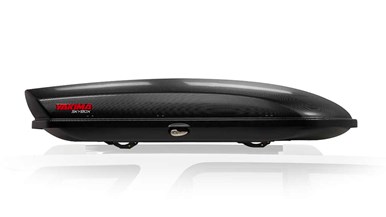
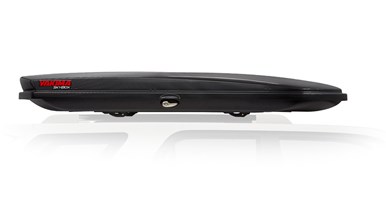
Locking side
This is the side from which you can unlock and lock the box. Ideally this is on the passenger side, so that when you stop by the side of the road to unlock, you aren't standing on the traffic side.
Member only
This test score is for members only. Join now to unlock our expert results.
Join nowAlready a member? Log in now
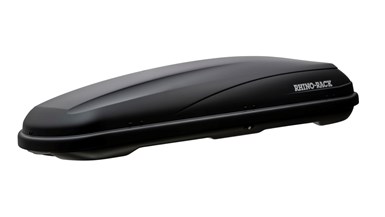
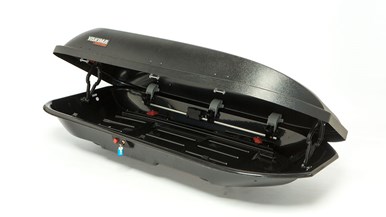
Loading and unloading score
How easy it is to load and unload items into and out of the roof box. The best-scoring models are reasonably wide so they are easy to reach from the side of the car.
Member only
This test score is for members only. Join now to unlock our expert results.
Join nowAlready a member? Log in now
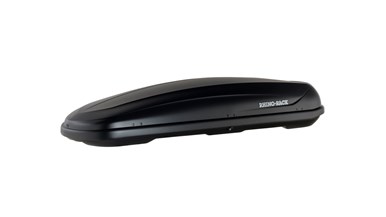
Ease of fitting score
How easy the roof box is to fit to the car's roof bars.
Member only
This test score is for members only. Join now to unlock our expert results.
Join nowAlready a member? Log in now
Lid opening/lock score
How easy it is to open and close the lid, and lock or unlock it. The best-scoring models can be opened from either side, so you can do it from the passenger side, which is safer if you've pulled over on the side of the road.
Member only
This test score is for members only. Join now to unlock our expert results.
Join nowAlready a member? Log in now
Load-securing devices
The number of straps inside the box for securing the contents.
Included in this review
- Overall score
- Recommended
- Ease of fitting score
- Loading and unloading score
- Lid opening/lock score
- Likely fuel consumption increase
- Weight (kg)
- Locking side
- Maximum speed with box fitted (km/h)
- Good points
- Bad points
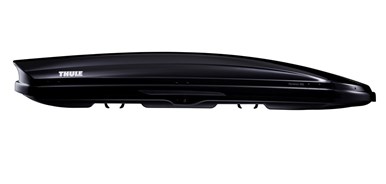
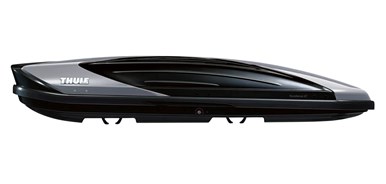
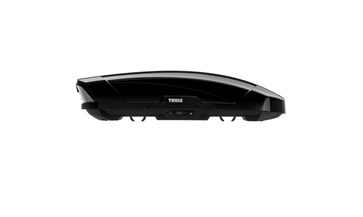
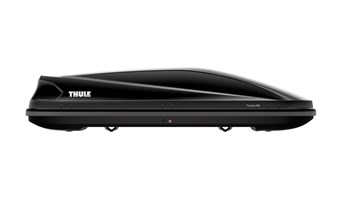
- Size
- Price
- Brand
- Model
- Dimensions (L x W x H, cm)
- Claimed volume (L)
- Claimed maximum load (kg)
- Lock/theft protection
- Load securing devices
- Recommended distance between bars (mm)
- Contact